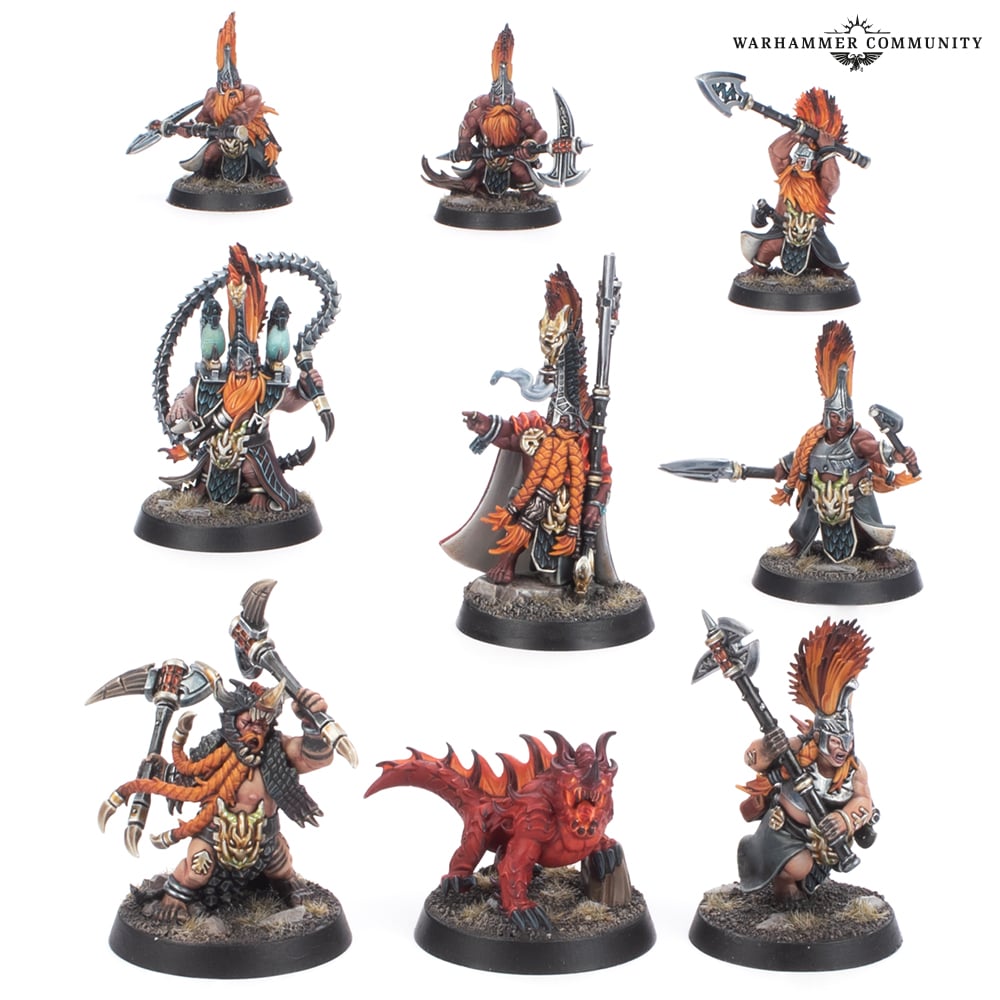
Credit: Games Workshop
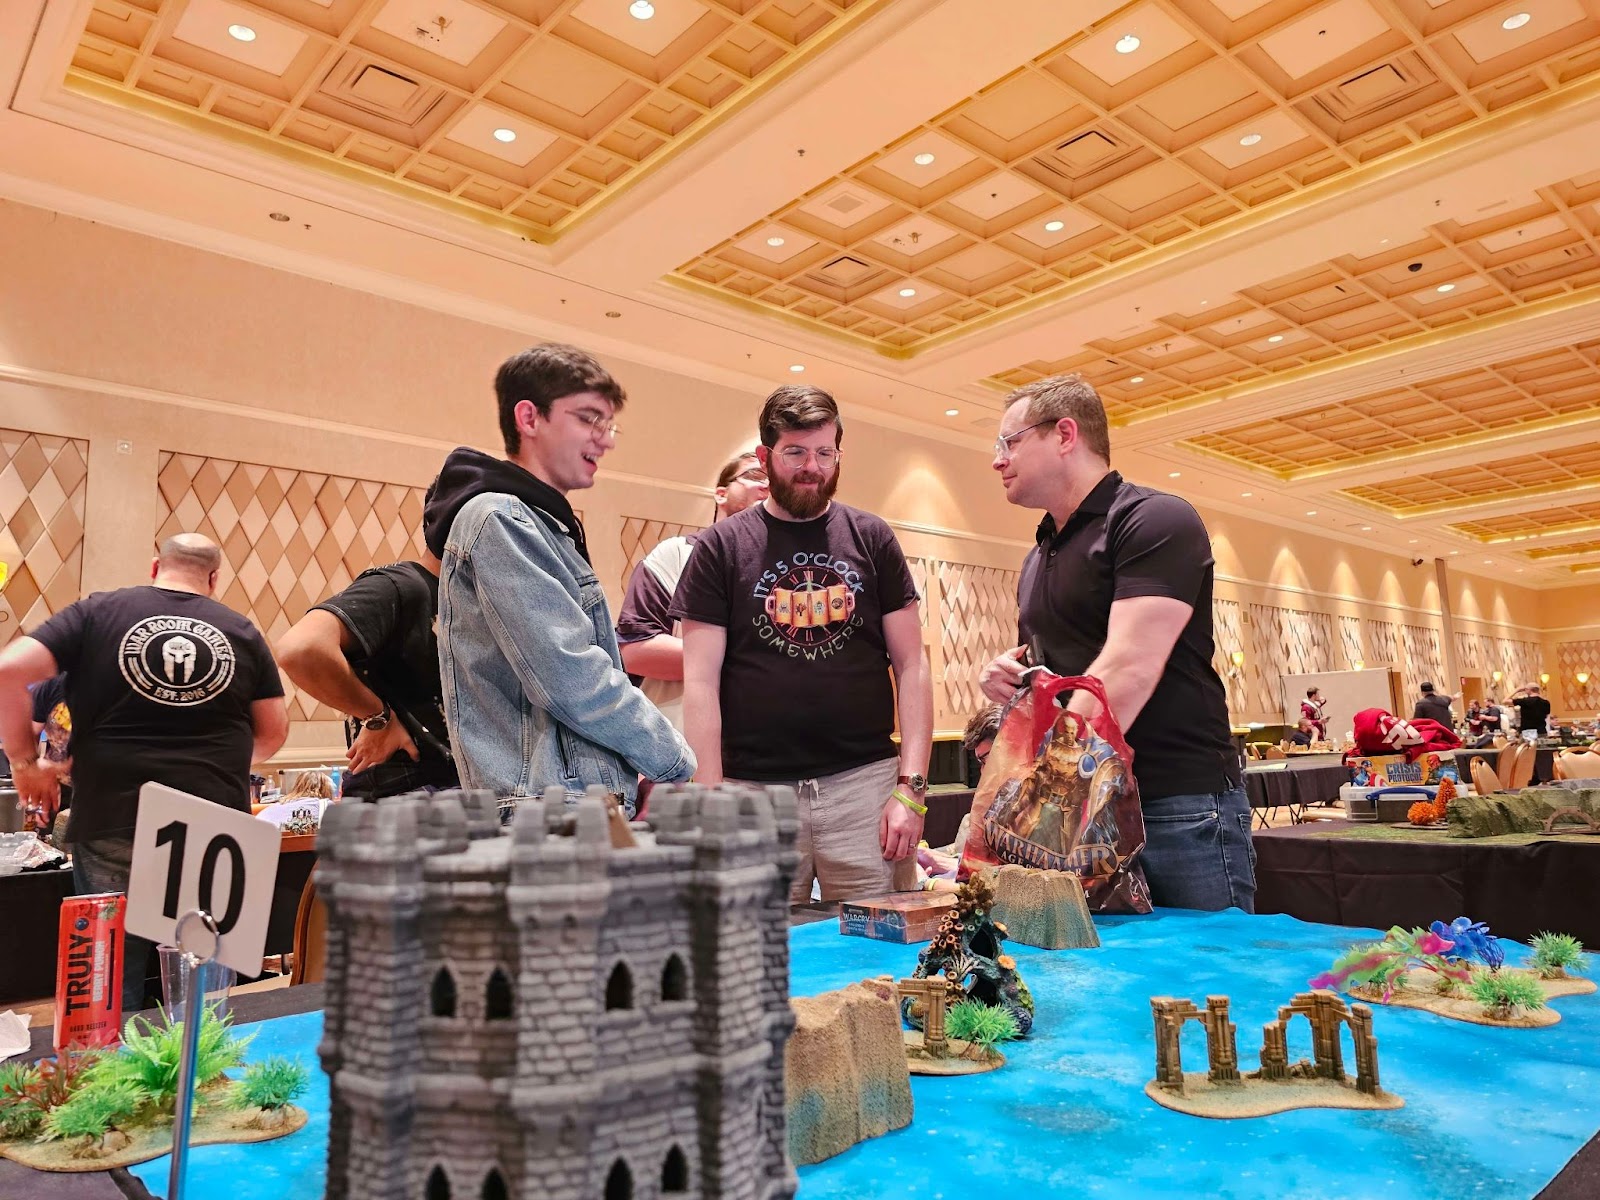
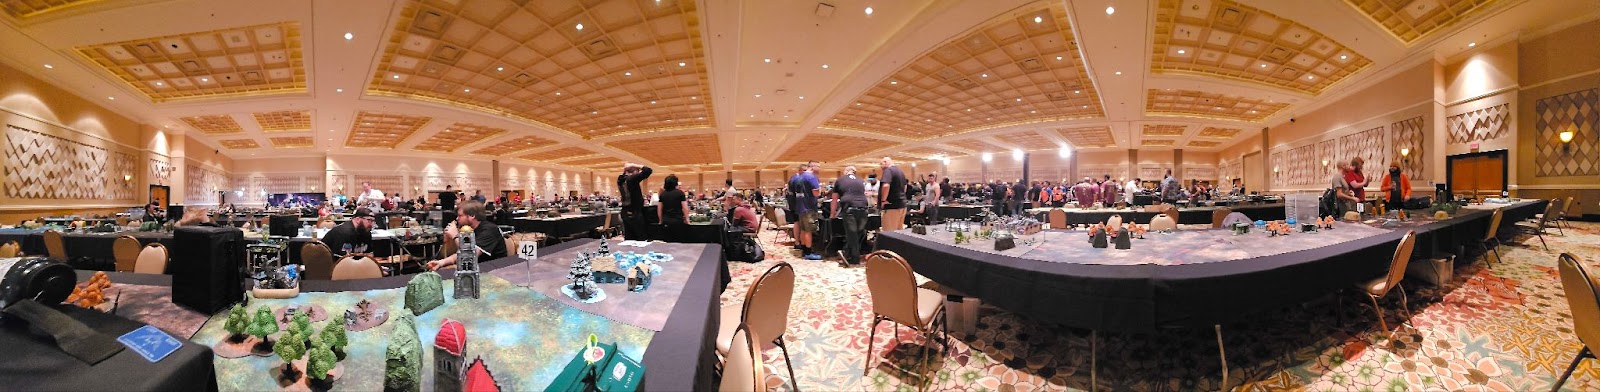
Event and Venue
Whelp, I somehow acquired a Golden Ticket for the Championships. It’s in Atlanta, which is great because it’s 15 minutes from my bed to the play area. The event is very large this year with almost 150 players for AoS and hundreds or thousands more for everything else (including the 40k Narrative event).

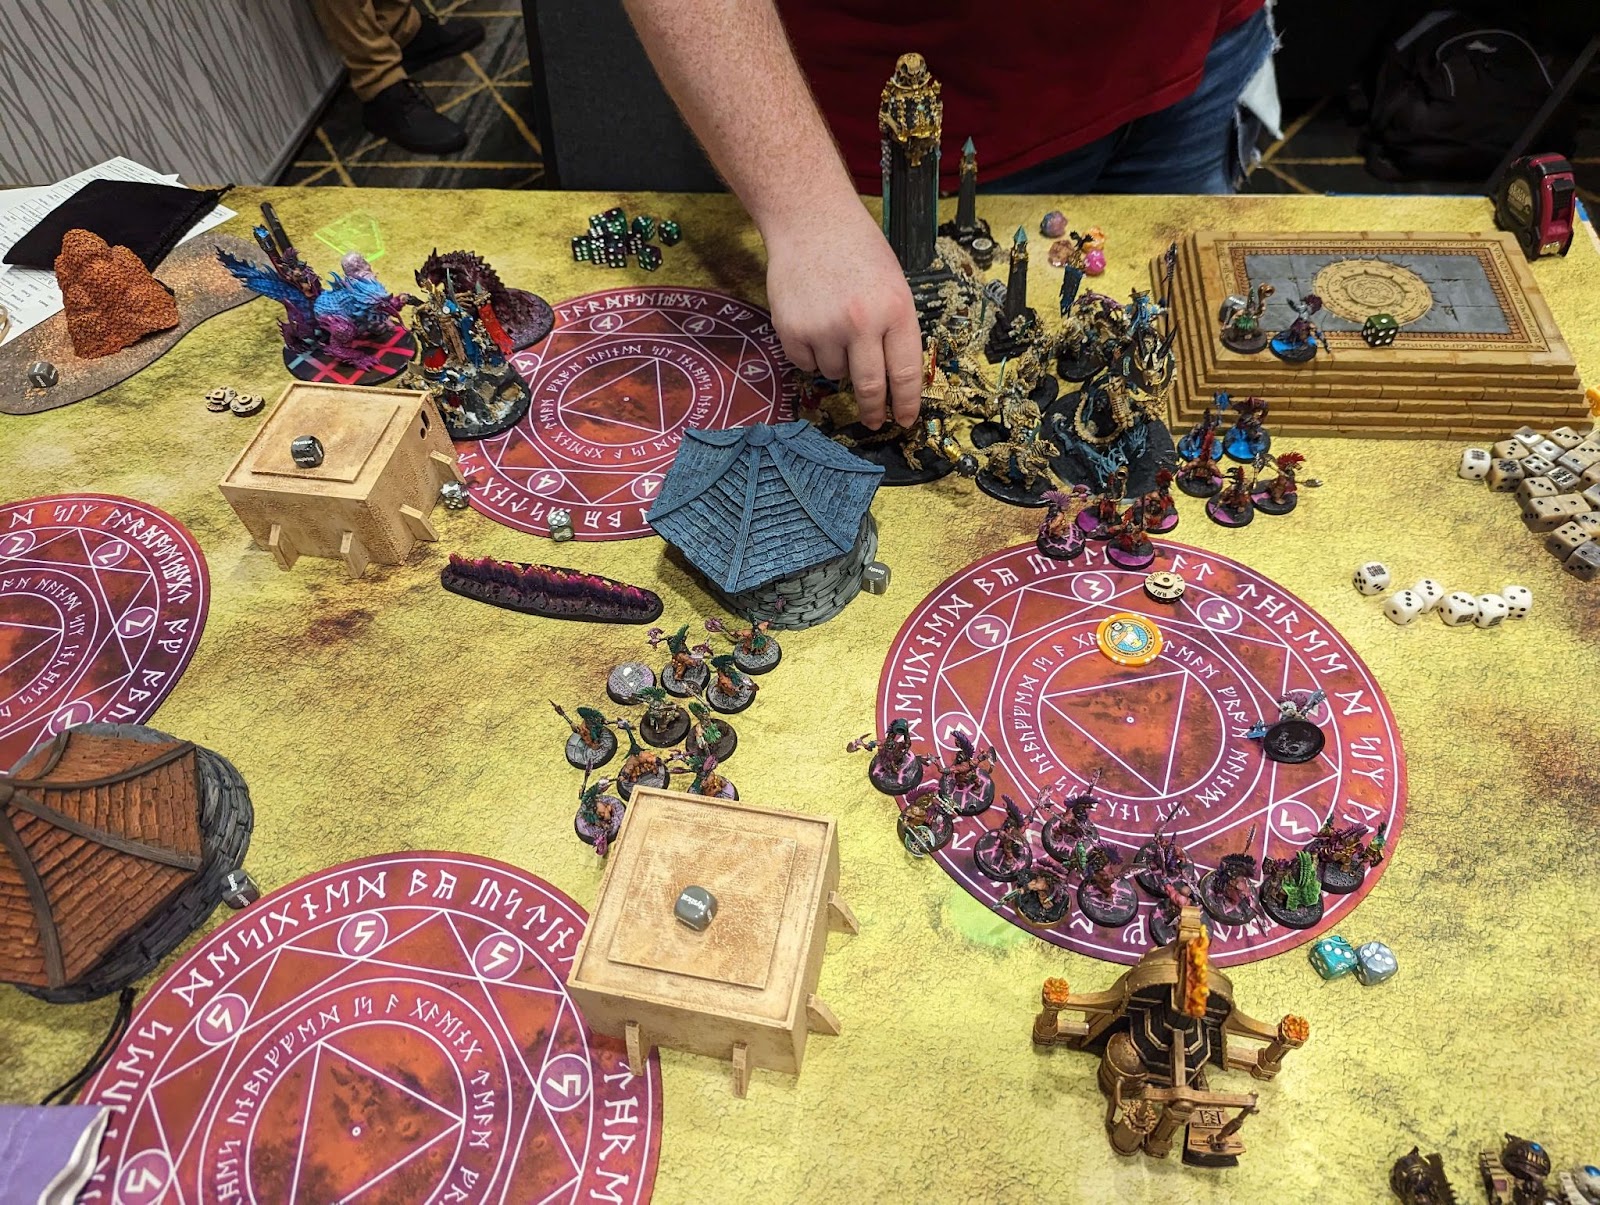
Credit: Games Workshop
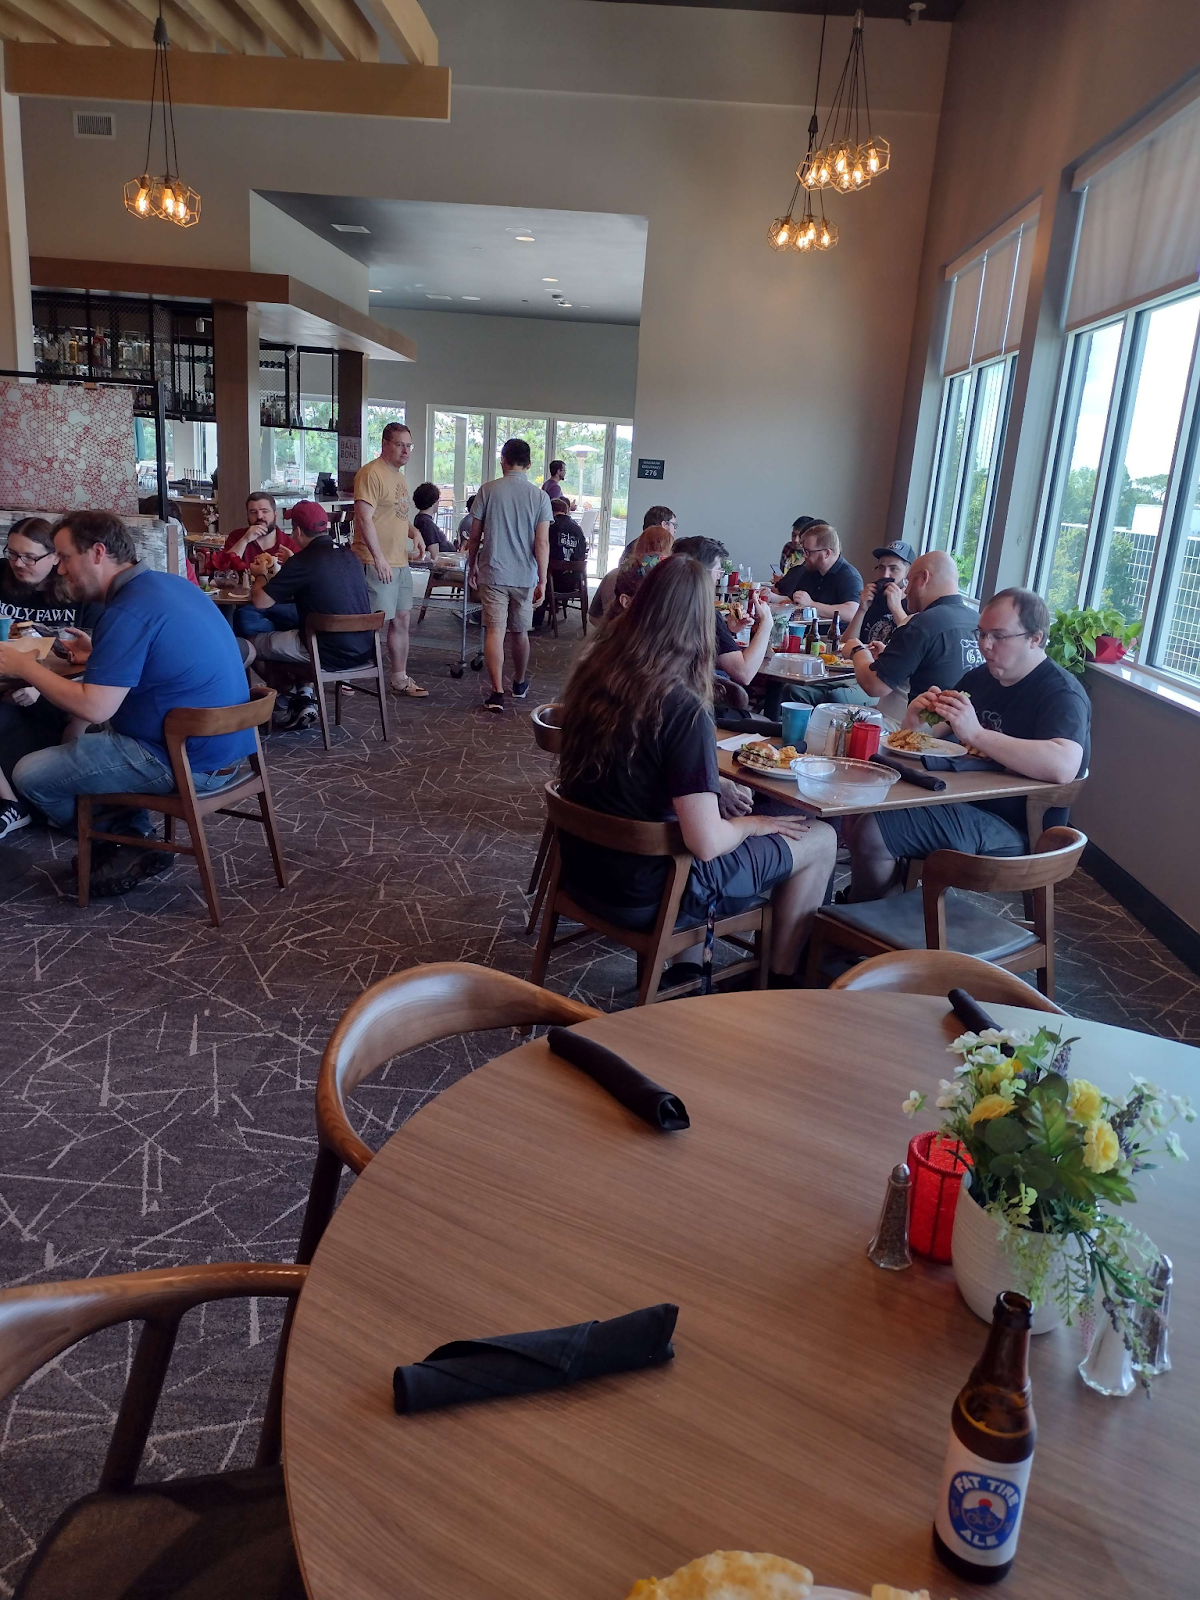
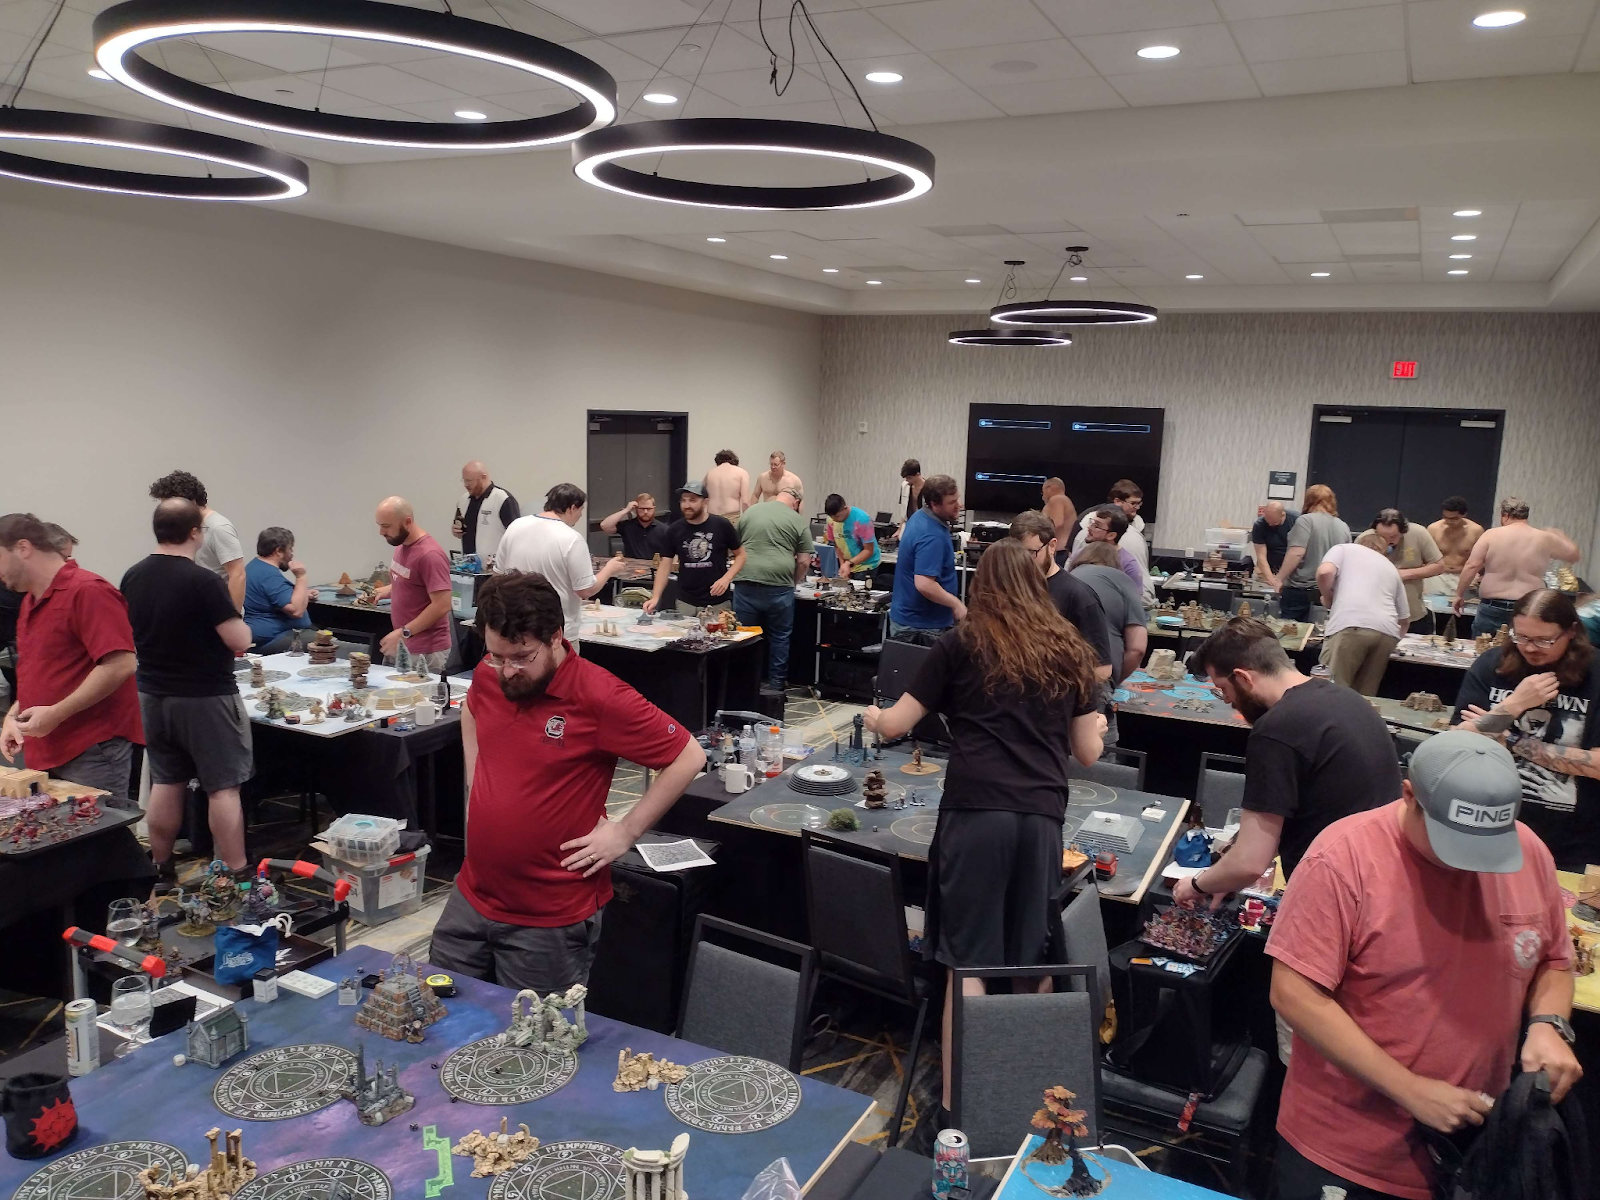
The event is in the Hyatt in downtown Atlanta. The venue itself is clean, large, and with access to multiple other larger hotels (via tunnel in case of weather). It’s also connected to a passable food court for lunch. Overall it’s a good venue for any tournament really, but quite suitable for such a large one.
More importantly buckets of five beers are $20 and I took advantage of that on days one, two and four.
This is a Games Workshop official event, so the terrain is all GW terrain. The setup is all on GW and the TOs/Judges including official Games Workshop staff (and rules writers). This makes it unique in how rulings come down but also unique in how little arguing people (normally) have with TOs!
I appreciate getting the TOs to rule on “Sacred Rites” for Fyreslayers players: it does not give a magmic token! I don’t appreciate that they refused to elaborate on why that is, but so it goes.
Honestly, going into the third year it seems like they really got all the kinks out of thing. Other than a technical problem during the preview show, everything seemed to run quite smoothly on the surface.
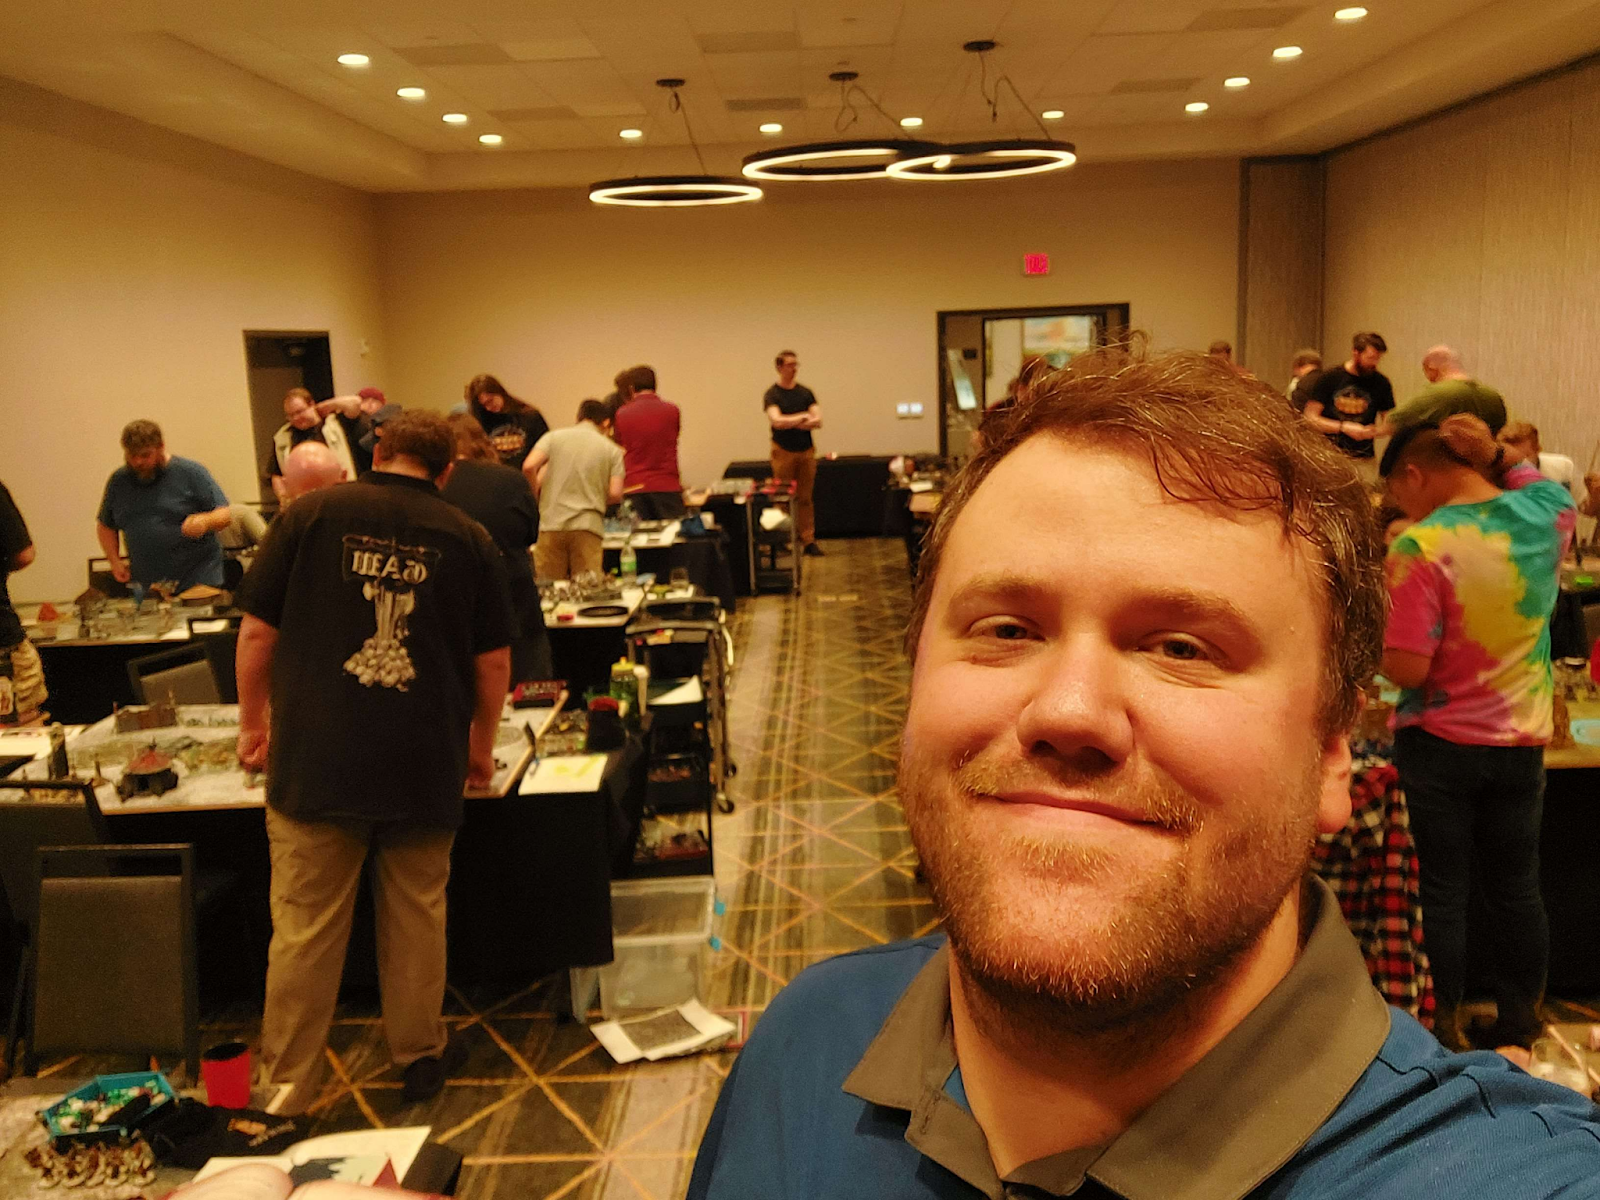
A lot of the staff helping run the event are actually my Georgia Warband clubmates, and a lot of us have lent out models to various participants. I guess we also have a hand in making it run smoothly: shout out to my teammates!
This is also a great chance for me to see some old friends and acquaintances. Hell, I might make some new friends: a new opponent is just a friend you’ve not played yet.
My List
As per normal, I am running Fyreslayers. I’ve been running various lists over the past couple of months. I couldn’t settle on one so just went with one of the recent iterations, which I sort of regret, but it performed well enough.
I wish I had had more time to practice, but other than the event a bit beforehand, work and life has me up against the wall and I just can’t take the time I really should to get reps in. I’m basically hoping my nonstop play with only this army for years can carry me.
Fyreslayers
Scales of Vulcatrix (10)
General’s Handbook 2025-26
Drops: 5
Wounds: 112
Prayer Lore – Vulkyn Gifts
Manifestation Lore – Magmic InvocationsBattle Tactic Cards: Intercept and Recover, Restless Energy
General’s Regiment
Auric Runefather on Magmadroth (320)
General
Hearthguard Berzerkers with Flamestrike Poleaxes (120)Regiment 1
Auric Runesmiter on Magmadroth (280)
Vulkyn Flameseekers (160)Regiment 2
Auric Runemaster (180)
Vulkyn Flameseekers (160)Regiment 3
Auric Runeson on Magmadroth (Scourge of Ghyran) (320)
Droth-helm (10)
Fiercely Competitive
Thickened Scales
Hearthguard Berzerkers with Flamestrike Poleaxes (120)Faction Terrain
Magmic BattleforgeRegiments of Renown
Sky-Port Profiteers (320)
Grundstok Thunderers
2x Grundstok Mortar or Aethercannon
Grundstok Thunderers
2x Grundstok Mortar or Aethercannon
2x Aetheric Fumigator or Decksweeper
Codewright
The list functions closer in playstyle to older infantry Fyreslayers lists than it does a full magmadroth pedal to the metal list — though it can do that some, too.
The Thunderers, Poleaxes, and Flameseekers not only all do some damage but add heavy screening, point capturing pressure, and just wounds to the list. Opponents always have to be aware that the Codewright can teleport anyone from himself to a flameseekers unit (9-models) around the map.
The Auric Runesmiter on Magmadroth adds heavy utility and defensive capability. The rampage is extremely good at adding pre-combat mortals on larger units which can thin their ranks before they swing. Further, the +1 wound (on a 3+) ability is useful and being priest (1) is extremely useful.
The Runefather and Runeson Magmadroths are, of course, the mobile hammers which skew it from an infantry list into a damage output game.
I took the Fiercely Competitive trait over the others, in retrospect I really would have liked Blood of the Berserker due to failing many MANY charges by 1, but on the other hand, Fiercely Competitive straight up wins me the mirror match against the other Fyreslayers player, so it wasn’t a BAD pick, just a situational one.
Thickened Scales and the Droth Helm continue to always pay dividends.
The list, at its core, isn’t about having maximum utility, objective holding, or damage, but a little of each. My hope is that makes it a good all-comers list.
The Tournament: Pod Play
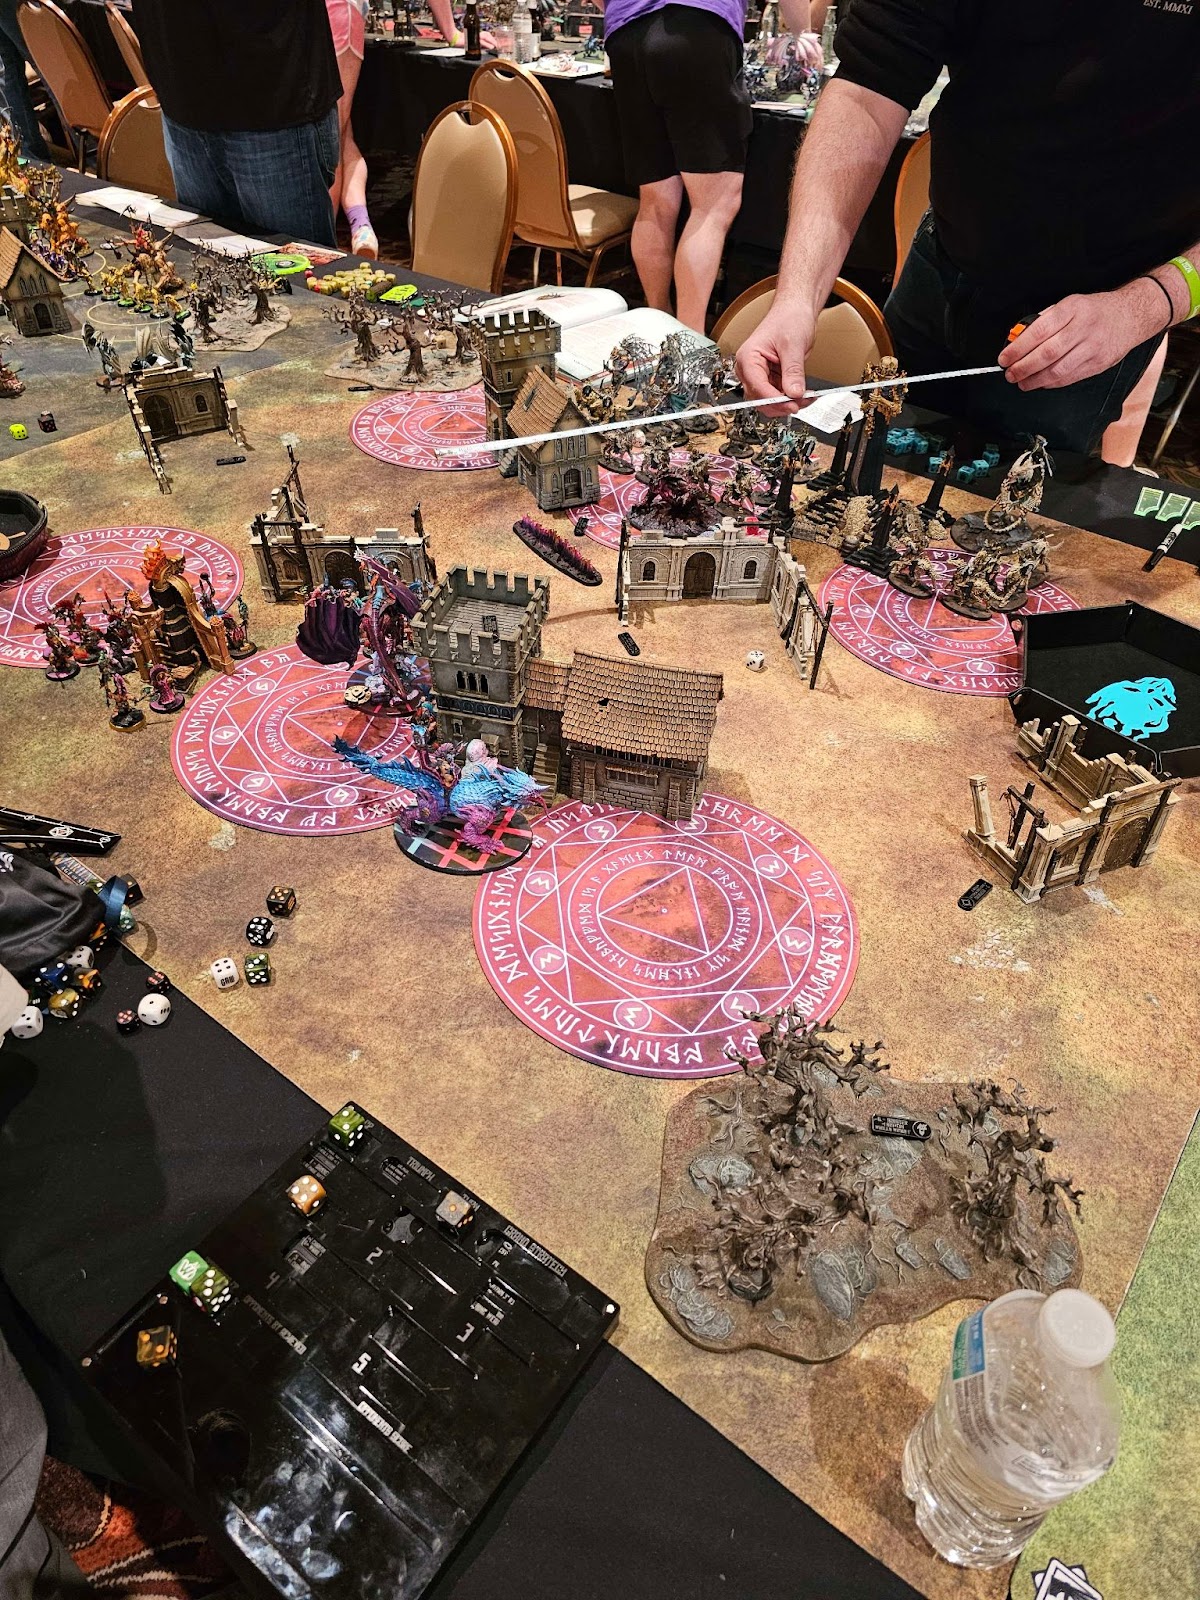
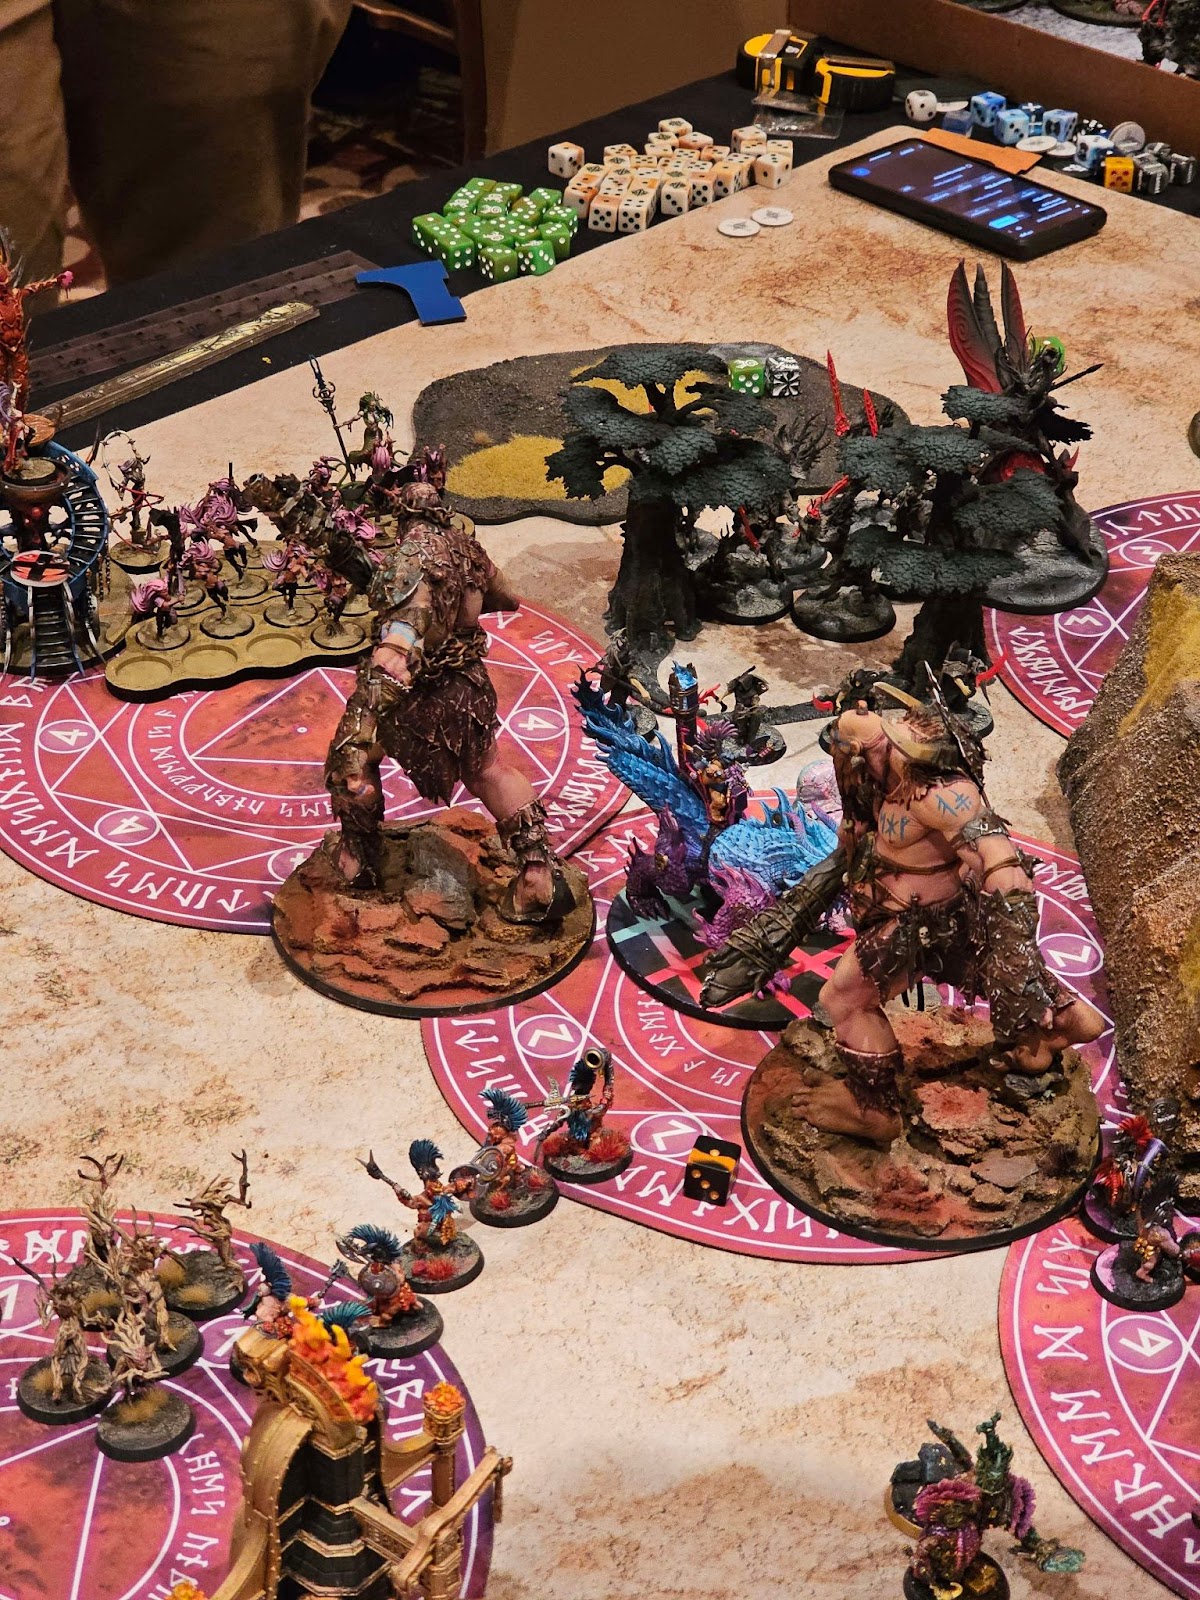
I’ll note that the specifics on every game are sometimes misremembered or a bit fuzzy, so I’m doing my best to see through the haze of alcohol and brain cooking to remember everything in these sections.

(The deep recesses of the AoS area)
My big critique of this phase of the tournament is that they released the pods well-before the tournament but then shifted them around (due to drops I guess?). This caused a bit of confusion for many of us. Really, they should have just released lists but waited for pods to be shown the day-of. I felt like this maybe caused some inequality in list knowledge and expectation, but it didn’t overly affect me due to aforementioned lack of prep.
Day 1: Losing Game 1 is Relaxing

(Locked in)
Game 1: Loss Against Nighthaunt on Surge of Slaughter
My Game 1 opponent is David Demmel from Germany with a Pyregheists heavy list (like all NH players).
1990/2000 pts
-----
Grand Alliance Death | Nighthaunt | Quicksilver Gheists (40 Points)
General's Handbook 2025-26
Drops: 3
Spell Lore - Lore of the Underworlds
Manifestation Lore - Infernal Sorceries
Battle Tactics Cards: Restless Energy and Scouting Force
-----
General's Regiment
Lady Olynder, Mortarch of Grief (300)
• General
Chainghasts (90)
Scourge of Ghyran Black Coach (300)
---
Regiment 1
Krulghast Cruciator (160)
• Brazier of Nagashizzar
• Ruler of the Spectral Hosts
Myrmourn Banshees (180)
• Reinforced
Pyregheists (150)
Pyregheists (150)
---
Regiment 2
Lord Vitriolic (120)
Chainrasps (200)
• Reinforced
Pyregheists (150)
Pyregheists (150)
-----
Faction Terrain
Nexus of Grief
David’s list is extremely good at accomplishing tactics and he can basically effortlessly get 4 of them with the other two being a bit harder, but not much. It also has one of the most points efficient units in the game in Pyregheists backed by Olynder being a very strong utility and damage piece that borders on unkillable without HEAVY mortal damage threat.
I know he can play the tactics game very well and so I play somewhat agressive into him. This works in turn 1 as he plays more passive, mostly screening and toe-touching objectives. I outscore him while eliminating his chainghasts.
But it falls apart in Round 2 when I fail nearly every single one of my very short short charges. I still do damage due to shooting, but it’s not enough. Further, I think my rune usage was poor here and that is the real thing that will haunt me.
This was a big misplay on my part and a valuable lesson: never ever consider charges guaranteed. I need to be much more cautious, especially around armies with such a strong hit back on damage output. I felt I had to play agressively into a shooting army, but I probably didn’t.
I think his positioning was okay but if I do make those charges I think I win the close game, but since I didn’t, his positioning seemed genius and his clap back kills my runefather droth as well as gaining him just an overall fantastic scoring and positioning turn.
From here on out I play the game of scrambling for points as my gameplan has gone awry and I do claw back but my lack of tactics adds up while he accomplishes them with ease and I end up losing a very close game while both of us have very few models left on the board.
David’s a strong player and I think once he saw where the pieces landed in Round 2 he knew as long as he didn’t make any mistakes it was game over for me going into Round 3.
Great opponent and a good close game. I think I played poorly into the battleplan, not helped by the underdog mechanic being useless against Nighthaunt.
I learned some real lessons here on being more meticulous and less gambling-prone and I credit David with out playing me for the lessons here.
Game 2: Win Against Seraphon on Lifecycle.
I am now fully relaxing heading into my game 2. With the weight of winning off my shoulders I can play to my strengths but not stress. It’s probably a character flaw of mine that I play better when winning a tournament is out of my reach. Technically I have a chance at top 16, but it’s now not fully in my own hands so I don’t stress it hard.
This game is against Erik Armstrong from Canada playing Seraphon.
Your list scientists were so preoccupied with whether or not they could include the Sky-Port Profiteers, they didn’t stop to think if they should 2000/2000 pts
-----
Grand Alliance Order | Seraphon | Eternal Starhost
General's Handbook 2025-26
Drops: 3
Spell Lore - Lore of Celestial Manipulation (20 Points)
Manifestation Lore - Aetherwrought Machineries
Battle Tactics Cards: Restless Energy and Wrathful Cycles
-----
General's Regiment
Skink Starpriest (110)
• General
• Coatl Familiar
• Child of the Stars
Raptadon Chargers (260)
• Reinforced
Ripperdactyl Riders (220)
• Reinforced
---
Regiment 1
Sunblood Pack (150)
Kroxigor (200)
Kroxigor (200)
Kroxigor Warspawned (420)
• Reinforced
---
Regiment 2
Saurus Astrolith Bearer (120)
Saurus Warriors (150)
Saurus Warriors (150)
-----
Faction Terrain
Realmshaper Engine
I’m pretty comforted going into this matchup as I recently played almost this identical list so I’m quite familiar with it.
Erik is chill and quite competent in his deployment which tells me he’s a strong player. No wishy washy play here, he’s got a plan!
I deploy conservatively with knowledge I can double move if need be and that he basically can BARELY get one unit into me turn 1 if he gets the run/charge spell off so I’m not worried about an alphastrike.
In round 1 I basically toe touch the objectives with some throwaway units and ping some damage on his dudes. I do push the right side a bit harder with infantry and keep my middle hammers waiting for him to make a move while my other droth pushes harder on the left side.
This drags some of his units to deal with the threat on one side. He uses Saurus to screen the Kroxigors waiting for a nice opening. But he also used the -1 rend asterism so he can’t really step out of his own territory without great risk to himself, so the screen can’t be too far forward and he can’t walk into the middle of the map without getting blasted.
With this setup I can safely give the turn away in round 2 and be perfectly safe or take it and wipe him out pretty hard.
He gets the turn, he can’t do a ton and pings some of my units, but with the strikes first rune he knows he has to play safe. Sadly for him on the bottom of two I kill basically all the screens, especially his Ripperdactyls, and ping some other stuff.
I get the double and basically end the game right there by tabling anything of actual note he has. Some decent charges up the center ensure this.
Erik takes the loss like a true champion but apparently has places to be so sadly I missed my shot at buying him a beer.
I go out with some people and we grab some okonomiyaki, that’s some good food. The power of knowing the area, I guess.
Day 2: Opponent Game Win % is an Exciting Tie Breaker
Going into Day 2 I’m, again, fairly chill. What I am not excited about is the insanely early start time of 8:30 A.M. Bonkers, GW, bonkers. Humans were not designed for such hours!
Game 3: Win Against Gloomspite Gitz on Cyclic Shifts

(Shown: my confusion over Boingrot’s being so undercosted)
This game is against Ricky Fischer from the US on Gitz. I’ve played Ricky a couple years prior at Nashcon, actually and we had a good game then. Ricky always brings the HEAT when it comes to hobbying and he absolutely crushes me in that contest — a beautiful army from a beautiful man.

(Oh yea, I got btfo on hobbying)
2025 WCW 1990/2000 pts
Gloomspite Gitz
Squigalanche
General's Handbook 2025-26
Drops: 2
Spell Lore - Lore of the Clammy Dank
Manifestation Lore - Dank Manifestations
Battle Tactic Cards: Intercept and Recover, Restless Energy
General's Regiment
Skragrott, the Loonking (200)
 • General
Doom Diver Catapult (160)
Gobbapalooza (150)
Rockgut Troggoths (360)
 • Reinforced
Rockgut Troggoths (360)
 • Reinforced
Regiment 1
Squigboss with Gnasha-Squig (120)
 • Fight Another Day
 • Leering Gitshield
Boingrot Bounderz (220)
 • Reinforced
Boingrot Bounderz (220)
 • Reinforced
Squig Herd (200)
 • Reinforced
Faction Terrain
Bad Moon Loonshrine
His list lacks chariots, which is great for me, but has lots of boingrots, which is less great for me. The doomdiver may also pose issues, though it’s far more swingy.
Still, I have high damage output and enough ranged power to at least force his positioning to be off if he wants obscuring of any kind and if he wants good positioning he’ll have to take the licks.
The story of this game is basically that Troggs do not form a good screen if they can’t have a ward. He has to screen his actual fast hammers and units from my very fast droths, but once the Troggs lose their ward even the breath attacks are clearing them.
He makes good use of his moon buffs and spells to keep me at bay a bit and play the objectives. In Round 1 we both play conservatively, but in round 2 I push the right side super hard forcing his hand on his turn to come deal with me. He forgets I have the fight first rune and pushes a bit too hard setting me up for some big turns.
Still, with some nice charges and positioning he kills a unit of thunderers, wounds some poleaxes, and puts wounds on a magmadroth. Sadly for him it’s the smiterdroth who can do lots of mortal wounds to large units before combat causing him to fail on the closing out the droth.
He pulls back on the left side and consolidates for a countercharge, but this does sacrifice his Loonshrine, so no recursion can save him here. I’m basically fighting him in his territory at this point and the game is gonna be lost on points even if he can finish clearing out my magmadroths.
But he doesn’t and I get to play whack-a-mole on his final dudes.
A good game, but I think the droth pre-combat damage + ranged pressure was too high for his list on this map.
Ricky is a great opponent and I know he won awards later for hobbying at the very least.
Game 4: Win Against Stormcast Eternals on Roiling Roots

(How the hell do you show a panoramic image on this thing?)
This game is against Joss Wheeler from the US on SCE.
From the top rope its sigmar with a steel chair. 2000/2000 pts
Stormcast Eternals
Thunderhead Host
General's Handbook 2025-26
Drops: 2
Battle Tactic Cards: Intercept and Recover, Master The Paths
General's Regiment
Yndrasta, the Celestial Spear (290)
 • General
Aetherwings (80)
Annihilators with Meteoric Grandhammers (180)
Vanguard-Palladors with Starstrike Javelins (240)
Vanguard-Raptors with Longstrike Crossbows (200)
Regiment 1
Lord-Imperatant (110)
 • Banner of Sigmar
 • Shock and Awe
Annihilators with Meteoric Grandhammers (360)
 • Reinforced
Annihilators with Meteoric Grandhammers (360)
 • Reinforced
Gardus Steel Soul (160)
Faction Terrain
Stormreach Portal (20 Points)
I read Joss’ list and felt doom wash over me. This list is VERY good against mine. Longstrikes aren’t going to kill a magmadroth (probably) but those wounds add up. The grandhammers can definitely kill a magmadroth though, easily.
Then there’s Yndrasta, the hardest hard counter to Magmadroths. Her spear toss alone SLAPS.
I know I have to do two things: play a very SPREAD game, abuse the 9″ bubbles, and second is push HARD if I see an opening to get as many points as possible, especially if I have the fight first rune up. I probably also have to pray to the dice gods for him failing some charge rolls (which he later does).
Joss wisely takes the top of 1 and bum rushes my front line to pin me in on the left/center. I pop the 5+ ward rune and he sees that my screening would have him killing some infantry and then dying horribly to magmadroths so he doesn’t drop his big boys.
He pins me with the palladors and Yndrasta pushes my right side, killing a hero and taking objective, getting him a solid lead.
I know better than to directly fight Yndrasta with a droth if I don’t have to, instead opting to shoot her a lot and strip her ward. Which I do, putting some damage on her. I finish off the Palladors and hold my line, we get to go to round 2.
Going into round 2 he has the top and I hit the fight first rune. This disuades him from dropping (too risky and no great openings) and he pulls Yndrasta WAAAAY back to safety and rallying her back up.
On my turn I push further up and clear more of screens/units on the board and spread waaaay out in fear of his drops still out there.
I get initiative into round 3 and RUSH his Lord-Imperatant killing it. This is HUGE for me. My flameseekers threaten the left side now and are chasing his longstrikes and his remaining objective.
He has a combeback chance if he can free the longstrikes, but he can’t. In one of the worst dice rolls he could get, his Gardus fails to do a single point of damage to some Flameseekers who in-turn kill the longstrikes. Further he fails all of his drop charges.
He gets the double into four but it’s too little too late, Yndrasta is JUST NOW getting back into the fight maybe and he needs some lengthy charges just to get onto two objectives, let alone take multiple.
The game is basically over on points and I go to 3-1. I view the standings and see: yep I’m WAAAAAY low on tie breaks (opponent game win % is the first one) so that ship has sailed and I have no shot at a shadow round. Let’s drink!
The Games: Bracket Play
After the pod play everyone is separated into brackets. The brackets are the top 16, then all 3-win players, all 2-win, and so on. I am in the “3-win players bracket.”
Day 3: Migraines Suck; If I Could Drop I Would Have
This day sucks terribly for me, not due to losses, I don’t care about that. I randomly get terrible migraines maybe three or four times a year. Whelp, I got nice timing on that.
I happened to get one the night before and got maybe 2 hours of sleep on top of the daylong incredible headache that medicine just couldn’t shake. Any other tournament and I would be dropping, but I can’t do this here.
Due to this, I really don’t remember a lot about this day — it’s basically a blur — and I’m sure I show my opponents some uninspired play and behavior. Thankfully reviewing opponents lists and battleplans somewhat jogged at least a little memory.
Game 5: Loss Against Nighthaunt on Passing Seasons

(it’s me, dying, and David, hopefully not dying)
This game is against David Demmel (again) with Nighthaunt. The list is the same as above. He actually went to the “shadow round” for a chance at top 16, but sadly fell just short.
Again, I don’t remember a ton but I lost to the same list twice so I believe it went roughly the same way. I do recall the end though: I misplayed very badly taking some units off my back objective compounded with him making a fantastic roll to drag his banshess over and grab my back objective which gave him the points needed to win.
I could make a comeback but only with a super long bomb charge with my droth and some hot rolling, which didn’t happen ending the game. David takes the game by 5 in part due to my error at the end.
David’s really nice and a good opponent. I was glad that if anyone would beat me it would be a skilled player and nice guy.
Game 6: Loss Against Lumineth Realmlords on Grasp of Thrones
This game is against Jos Chang from the US on LRL.
Can someone send me Jarod Brown’s discord info? He keeps making sweet LRL lists and I need to know the secret sauce.
My discord username is josbert
1970/2000 pts
-----
Grand Alliance Order | Lumineth Realm-lords | Scinari Council (10 Points)
General's Handbook 2025-26
Drops: 3
Spell Lore - Lore of Hysh
Manifestation Lore - Manifestations of Hysh
Battle Tactics Cards: Restless Energy and Scouting Force
-----
General's Regiment
Ellania and Ellathor, Eclipsian Warsages (290)
• General
Alarith Stoneguard (120)
Scourge of Ghyran The Light of Eltharion (270)
Vanari Auralan Wardens (280)
• Reinforced
Ydrilan Riverblades (160)
---
Regiment 1
Scinari Enlightener (200)
• Silver Wand
• Flawless Commander
Vanari Auralan Wardens (140)
Ydrilan Riverblades (160)
-----
Regiments of Renown
Sky-Port Profiteers (320)
Codewright
Grundstok Thunderers
Grundstok Thunderers
-----
Faction Terrain
Shrine Luminor (20)
I really like Jos but I really hate Lumineth. I am full doomer going into this game and you know what they say: if you don’t believe you will win then you won’t. That addage holds true here.
I don’t really recall the exact details but Jos played a great game. Very technical using obscuring and his heroes to full advantage as well as the Riverblades.
My Runefather got stuck on a single objective the WHOLE GAME. A huge mistake on my part to let him stay on that objective and get trapped. I should have played more passively and taken the objective in turn 2, then brought the sondroth to middle.
Just huge positioning errors on my part let the game get away from me right at the end for Jos to take it by 2 points.
Some great play from Jos here and a lesson in, as always, how awful LRL can be to play against, haha. But also in not giving up when you know you’re coming back.
I wish I could remember more specifics, but I was super checked out.
Some friends want Hattie B’s and I oblige despite not feeling well. Give the people what they want.
Day 4: Healthy and Get a Mirror Match
I got home around 10 p.m. the night before and immediately fell asleep clear through until 8:30 where I had to rush to the venue (dice roll at 9, allegedly). I feel great now, shaking off the headache and having plenty of sleep, I’m ready to rock ‘n’ roll.
Game 7: Win Against Fyreslayers on Creeping Corruption

(How many people does it take to move a model? Chris is finding out!)
This game is against David Sulava from Australia on Fyreslayers. Hell yea, my fellow Fyreslayer!
Scoville 9000 2000/2000 pts
Fyreslayers
Scales of Vulcatrix (10 Points)
General's Handbook 2025-26
Drops: 5
Prayer Lore - Vulkyn Gifts
Manifestation Lore - Magmic Invocations
Battle Tactic Cards: Intercept and Recover, Restless Energy
General's Regiment
Auric Runefather on Magmadroth (320)
 • General
 • Blood of the Berzerker
Scourge of Ghyran Auric Runeson on Magmadroth (320)
Regiment 1
Scourge of Ghyran Auric Runeson on Magmadroth (330)
 • Droth-helm - (10) Points
Regiment 2
Scourge of Ghyran Auric Runeson on Magmadroth (320)
 • Incandescent Blaze
Regiment 3
Auric Runemaster (180)
Hearthguard Berzerkers with Berzerker Broadaxes (240)
 • Reinforced
Regiment 4
Auric Runesmiter on Magmadroth (280)
Faction Terrain
Magmic Battleforge
I’ve played the FS mirror match a few times now. I also know this list he is running very well and realize I have the hard counter to David’s list: Flameseekers and Fiercely competitive.
He gives me the top of 1, I basically scoot around and faff about. I position such that if he does the same I can push on the next turn. I do teleport a unit to toe-touch his back objective and take it from him for a quick 10 instead of 8 points turn — I know he didnt deploy on it for a reason, likely to bait someone for his Runefather to get in combat with and grab an easy Restless 1, but I don’t mind as that drags one of his precious magmadroths way away from the fighting.
He takes the initiative and pushes hard into me, but with my fight first rune up he can’t do too terribly much on charge. But his shooting is potent and he nearly kills a flameseeker unit as well as my runefather droth. He charges the flameseekers to take my right back objective, but fails to kill them due to damage reduction. He also kills my teleported Thunderers, no big deal.
I win the priority and he uses the fight first rune. This is what I’ve been waiting for! I was actually fearful he’d use the 5+ ward/+1 save rune which would let him tank me and hit back. I put heavy shooting into his droth helm runeson, damaging it, then charge everything to the right and center.
With fiercely competitive, even though he has strikes first, I do, too. I easily dispatch his +1 hit aura magmadroth. This nerfs his other droths damage, though he still finishes off my runefather. My Runesmiter droth finishes off his second runeson droth and my flameseekers put the other one on notice with it being nearly dead and stuck in combat with them.
That’s game and he concedes. Even if he gets the turn all he can do is kill some flameseekers basically (maybe) and then Ill immediately kill everything but a remaining runefather who is way out of position.
A fast game, maybe 45 minutes, and I’m off to go drink! David is a really great guy and I’m glad I got to play him even if it was a shorter game.
Game 8: Win Against Seraphon on Bountiful Equinox

(Gonna be honest, the smell wasn’t great)
This game was against Thomas Burgett from the US on Seraphon. I now realize I was not ready to rock ‘n’ roll. It turns out 8 games in four days is a lot of AoS and I’m pretty done with the ordeal. I make this quite clear to Tom and that I’ll be probably full-sending if I see an opening.
P is for pandemonium 2000/2000 pts
Seraphon
Shadowstrike Starhost
General's Handbook 2025-26
Drops: 3
Spell Lore - Lore of Celestial Manipulation (20 Points)
Manifestation Lore - Primal Energy (20 Points)
Battle Tactic Cards: Restless Energy, Scouting Force
General's Regiment
Slann Starmaster (260)
 • General
 • Incandescent Rectrices
Raptadon Chargers (260)
 • Reinforced
Raptadon Chargers (130)
Raptadon Chargers (130)
Raptadon Hunters (120)
Regiment 1
Skink Starseer (170)
 • Beastmaster
Kroxigor Warspawned (420)
 • Reinforced
Raptadon Chargers (260)
 • Reinforced
Raptadon Hunters (120)
Regiment 2
Skink Starpriest (90)
Faction Terrain
Realmshaper Engine
I’d met Tom a couple years ago when I lent him a grouping of all the Annihalators we could scrounge together in the Atlanta area. He’s a cool guy and I’m glad he’s back!
His list is way way more agressive than Erik’s, wow. I know those Raptadons can basically cross the board on turn 1 if they want.
With that in mind I… deploy agressively, let’s get this shit over with! He gives me the top but has screened heavily so there’s no real point in doing much. I move my guys slightly forward and screen.
He pushes hard on the right, kills a Codewright and loses the unreinforced Chargers for the trouble. It gets him a solid lead though and takes my teleporting piece off the board.
I win the priority into round 2, give it to him, and hit 5+ ward. He basically pushes his screens up a bit and puts some light damage down.
I get my turn and just send it, killing all his screens and powering through off an endless spell to take one of his objectives putting me up on points.
He gets the top of 3 and I hit fight first. He has to do something though because if he does nothing I’m killing everything on my turn, if he does something I.. might kill everything.
He chooses to try to kill my runeson on magmadroth, fails, and we shake hands. He knows on my turn I’m clearing the Korxigor, the raptadons, and basically everything I can off the board then we would have a priority that would no longer matter.
I finish the tournament 3-1 and 2-2 for a total of 5-3 and ranked 32. Not bad, but not amazing. I blame poor play on day 1 for missing my shot at the top 16, but I think I wouldn’t have done well anyway with the migraine on day 3, so maybe it was for the best.
The End or: How I Stopped Fearing and Learned to Love My Brain Being Cooked
I live close enough I bounce home for a shower and a snack before I head back for the award ceremony with my wife. My brain is now thoroughly fried and I exist in a state of unconciousness functioning solely on instinct, an instinct to drive too fast around Atlanta roads!
I missed top Fyreslayer for the event, which went to Philip Springall and his very cool list and a beautifully painted army — I’m quite happy with this as he’s nice and his list is far more interesting/different than mine! I love unique FS lists.
Philip’s list is here. A flamekeeper? What a chad.
Just a few handfuls of dwarves in my carry on.
2000/2000 pts
Grand Alliance Order | Fyreslayers | Forge Brethren
General’s Handbook 2025-26
Drops: 5
Prayer Lore – Zharrgrim Blessings
Manifestation Lore – Magmic Invocations
Battle Tactics Cards: Scouting Force and Wrathful Cycles
General’s Regiment
Auric Runefather on Magmadroth (320)
- General
- Mark of Vulcatrix: Thickened Scales
Hearthguard Berzerkers with Flamestrike Poleaxes (240) - Reinforced
Hearthguard Berzerkers with Flamestrike Poleaxes (120)
Hearthguard Berzerkers with Flamestrike Poleaxes (120)
Regiment 1
Auric Runemaster (200)
* Ash-beard
Regiment 2
Auric Flamekeeper (80)
Regiment 3
Grimhold Exile (120)
- Ash-cloud Rune
Vulkyn Flameseekers (160)
Vulkyn Flameseekers (160)
Vulkyn Flameseekers (160)
Regiments of Renown
Sky-Port Profiteers (320)
Codewright
Grundstok Thunderers
- 2 Grundstok Mortar or Aethercannon
Grundstok Thunderers
* 2 Grundstok Mortar or Aethercannon
Faction Terrain
Magmic Battleforge
I did, however, get top Fyreslayers in ITC and thought we would get an award for that as we have in previous years. They even mention it at the beginning of the award show but then just didn’t give one out, oh well. I was happy to cheer for all the winners!
WIth the event over I am more than happy to not play Age of Sigmar for a bit with my next event just being a charity event a bit away. I think my brain is cooked.
Will it come back to Atlanta next year? The venue seems perfect for it and few airports are as well connected as Atlanta’s.
That said, the Europeans seemed REALLY REALLY not keen on traveling such long distances so I suspect it will go to Europe (any other continent is probably just not even a consideration). If they do move it, I hope the new venue has buckets of beer for $20!

(Hell yea, Mexico wins team spirit! I hope my brother from the south can make it to Europe!)
Feel free to comment if you have any specific questions about the event. This is just a brief rundown of games, after all.